Vegepod Self-Watering Planter: Product Review
We independently evaluate all recommended products and services. If you click on links we provide, we may receive compensation.
 The Vegepod self-watering planter is manufactured by Vegepod – an Australian based company with distribution in the USA (out of Lake Forest, CA). Essentially, the Vegpod is a self-watering, raised bed planter with some very special features. Right out of the box, I knew it was something special and looked forward to testing it.
VEGEPOD SIZES
The Vegepod comes in three sizes: small, medium, and large. You can also get it with or without a metal stand that turns it into an elevated planter. Optional casters are also available to make it mobile. We tested the medium size with a stand.
- Small (39” x 20”), growing depth of 11 inches
- Medium (39” x 39”), growing depth of 11 inches
- Large (79” x 39”), growing depth of 11 inches
ARRIVAL
The shipping box is quite large (approx. 3’ x 2’ x 1’) and heavy (about 50 lbs). It has to be when you see all the parts necessary for assembly. The cardboard packaging had a large picture printed on it, so there was no wondering what was in the box. I received the product in perfect condition, there wasn’t a broken part to be found and the box came through no worse for wear.
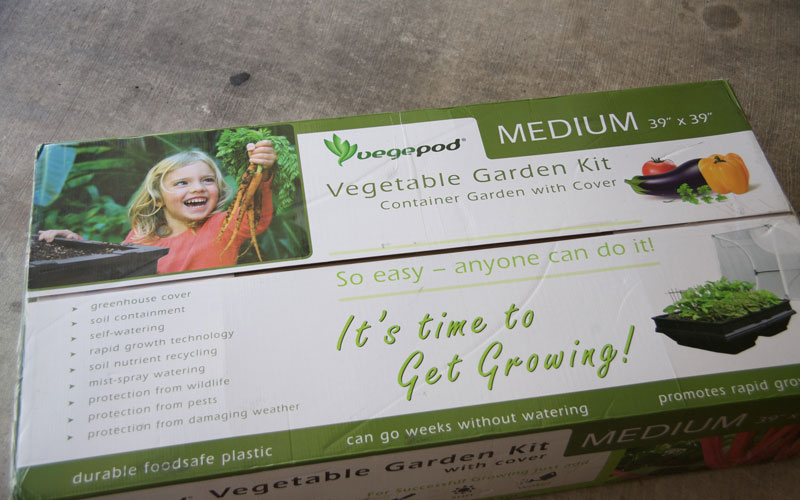
There was no mistaking what was inside the box
A LOT of Parts
Inside the box were a lot of different pieces –
- a set of assembly instructions,
- a plethora of parts (including steel nuts, bolts, and lock washers, plastic bolts and wingnuts, plastic attachment pieces, and lots of metal frame parts),
- the 2 containers to hold the soil,
- a greenhouse frame and cover,
- plastic clips,
- weather stripping,
- plastic sidewalls,
- tray liners, and
- a mist-spray watering system.
All of this was in pieces and had to be assembled.
The entire grow box is plastic with a steel frame that supports it. No soil came with the Vegepod – I had to purchase that separately.
You can watch a video about the assembly process below.
WHERE TO BEGIN
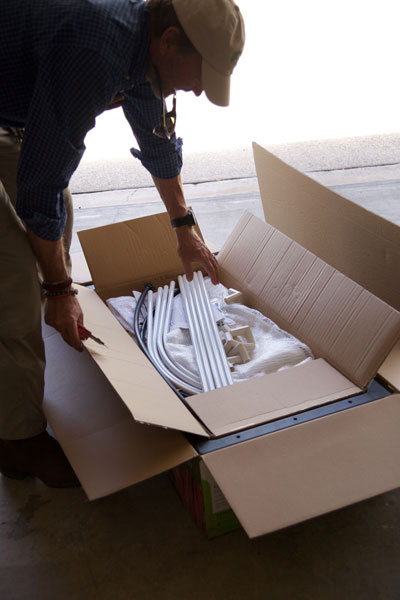
The packaging was super efficient, to hold a complete planter and stand in a box that was about 3’ x 2’ x 1’
Thank goodness for instructions. I probably would not be able to assemble the Vegepod without them (and I have a darn good mechanical aptitude).
As it was, the total assembly took me somewhere in the neighborhood of 2 hours. I also had to make some metal frame modifications which cost me some time (more on that later). Here’s a brief summary of what it took to get this beast together.
First came the assembly of what I’m calling the “grow box”. Suffice it to say there were plastic parts and even more plastic parts. It was an Erector® set of plastic. The basic concept here is to create a container that holds potting mix and is self-watering.
Start by putting together the grow box. The box is really two boxes in one: two “base containers” that are fastened together with clips and a rubber gasket, plus six “drain trays” that are placed in the bottom of the base containers. There are three drain trays per base container (tied together with cable ties). These drain trays are what prevent the soil from getting into the water reservoir in the bottom of the base containers.
After inserting the drain trays I began the process of adding the side panels to the base containers. This was a laborious task of snapping pieces together to create a wall that covered the perimeter of the base containers. Plastic bolts and plastic wingnuts were used to secure the wall to base containers. The purpose of this wall is to hold a higher soil level in the grow box. All up, the sidewall minus the drain trays gave a potting soil depth of approximately 11”.
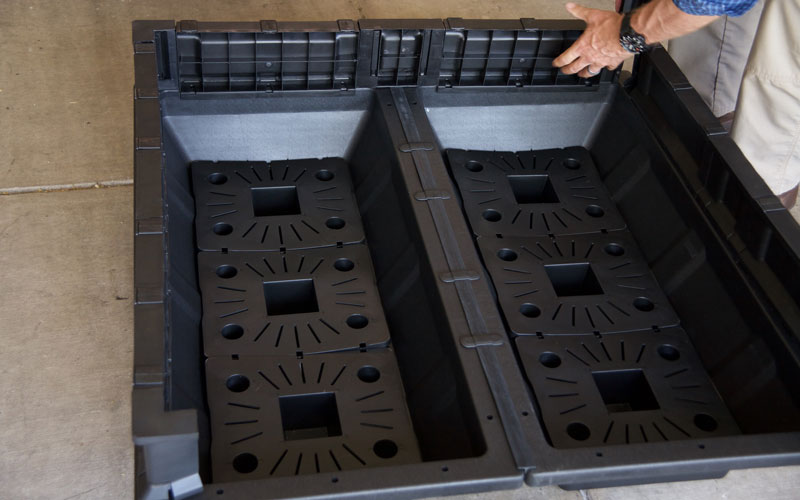
Constructing the grow box
METAL BASE FRAME WAS ULTRA-STRONG BUT HAD A TOLERANCE ISSUE
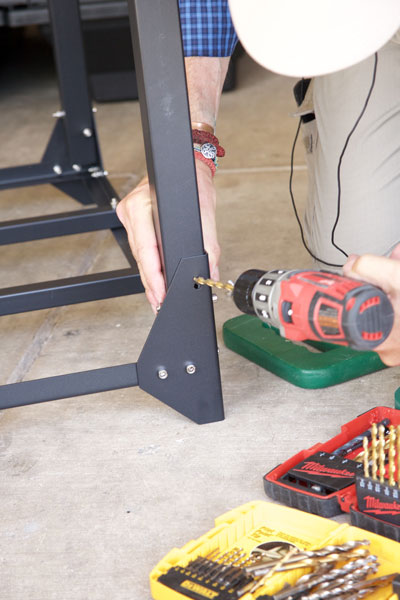
Using a drill and bit I was able to add the leg to the frame.
Next came assembly of the metal frame that the grow box sits on. This was the most painstaking part of the entire assembly. All I can say is there were a lot of steel nuts, bolts, and lock washers and a plethora of steel bars that made up the frame.
Thankfully, the instructions were good, including both pictures (which I like) and text to explain the process. Basically, it was taking a bunch of pieces and screwing or bolting them together.
The hardware was all standard steel, so some rusting is likely. Vegepod tells us that they’re replacing all the attachment hardware with stainless steel bolts and a self-locking nut (that eliminates the need for lock washers) so newer models shouldn’t have any rust issues.
The kit came with an Allen wrench to tighten the bolts. But it didn’t come with a wrench to hold the nuts as I tightened them with the Allen wrench. So I improvised and used my own nut driver. It was far faster than using a wrench.
Now comes the fun part. One of the leg holes (where a bolt went through) did not align. Engineers call this a “tolerance” problem. It was impossible to bolt this leg onto the rest of the frame. So I applied a little Yankee Ingenuity – a cordless electric drill and bit was just the ticket. I just drilled a new hole, inserted the bolt, lock washer, and nut – and I was back in business. With this modification the leg was a little wonky – it would not stand up straight and made the unit look like it would fall over. But after loading well over a hundred pounds of potting soil into the unit, the leg stayed put. It wasn’t pretty, but it worked. If I didn’t have all my own tools, the leg would probably have collapsed under the weight of the planting mix in the grow box.
This tolerance issue is currently being addressed by the company. They reported back to me that “we were getting about 1 in 200 that were out of alignment – we’ve improved that to 1 in 1000 now with increased QA. We’ve improved the bolts also – they’re now stainless steel – we also use a locking nut so there’s no need for those washers anymore and they tighten much easier.”
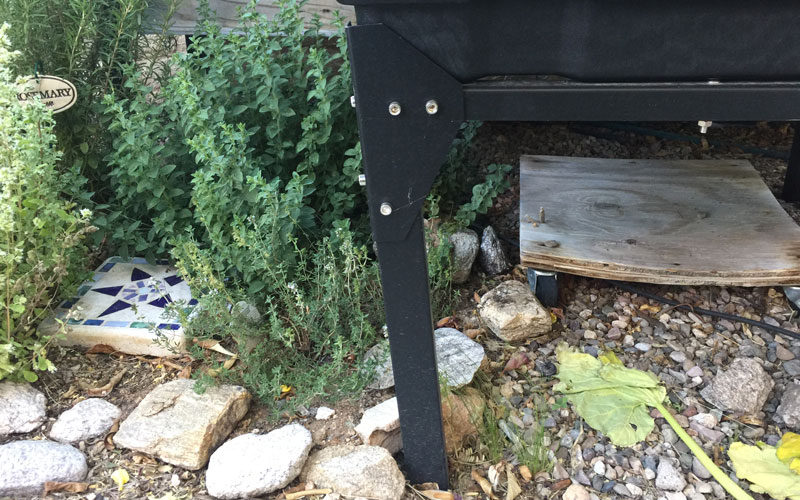
It’s not pretty but the modified leg still held a planter full of planting mix.
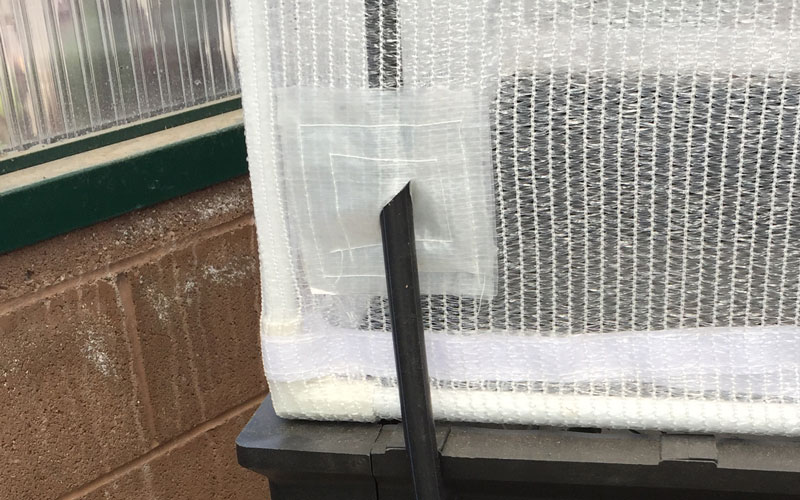
ASSEMBLING THE COVER
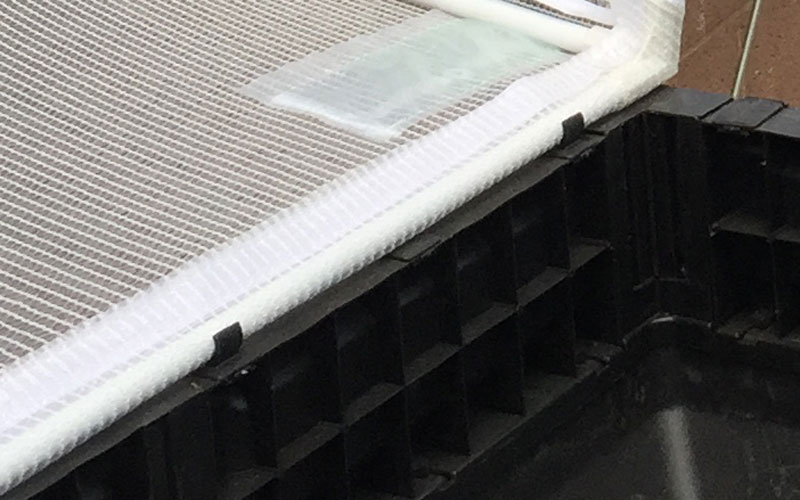
Like all the rest of the kit, the greenhouse top had to be assembled. A series of PVC tubes and connectors were assembled to create a dome that perfectly fit over the grow box. A mesh cover was then installed over the top of the frame.
Another nice design feature was that the unit was supplied with 6 “hinge clips” that let the cover open without falling off. I put three of them on the back edge of the planter to act as a hinge and three in front so the cover could be snapped into place, making it almost impossible for the wind to blow the cover open.
I can attest that the cover and clips work really well. We get some pretty powerful wind in Tucson, AZ and the cover stayed firmly in place when clipped down.
Hinge clips held the greenhouse frame on in the back of the grow box and allowed the frame to rotate upwards until it was stopped by the retaining string.
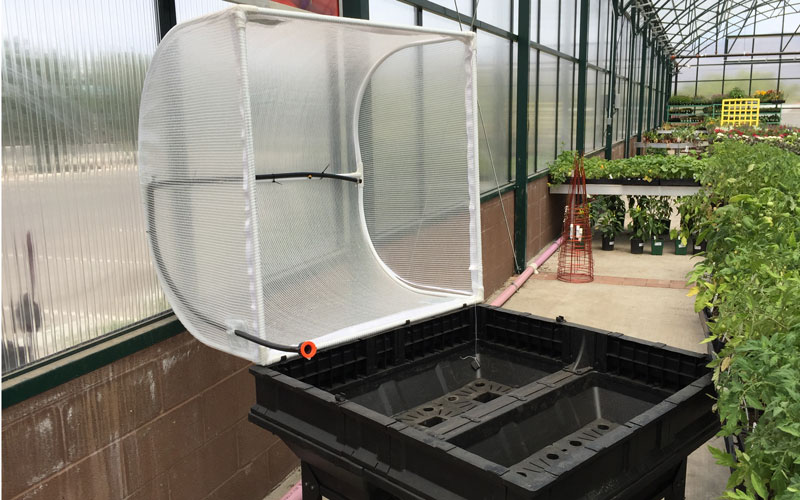
Greenhouse cover in open position, held in place with hinge clips.
A string attached to the grow box and the greenhouse top prevented the top from over-rotating and falling out of the hinge clips.
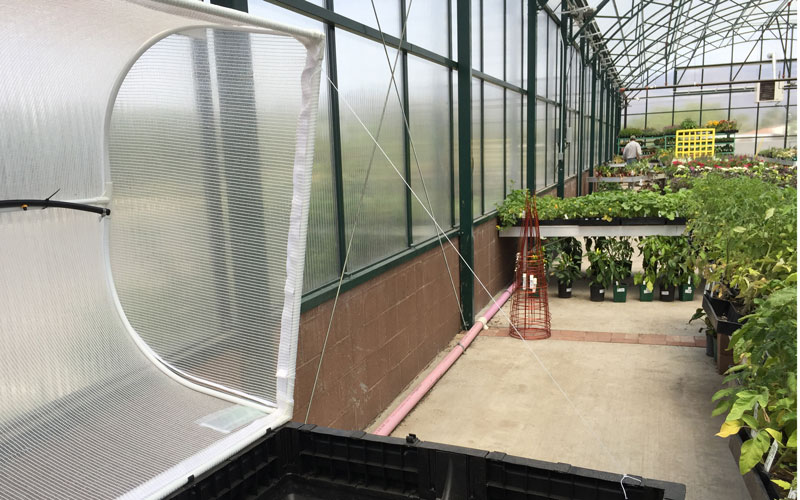
A string is attached to the grow box with a plastic clip and tied to the greenhouse cover.
ASSEMBLING THE WATERING SYSTEM
A nifty feature of the Vegepod is that it has its own overhead sprinkler line to water the plants.
The parts necessary to make this watering system came as another set of pieces that had to be assembled. It was simple to attach the sprinkler line to the hose connection; all I had to do was slip one piece onto a plastic plumbers “elbow” that was already inserted into the sprinkler line.
At the end of the sprinkler line was a stopper that kept the water from running out of the tube. On the other was the connector to hook it up to the hose. I had a problem connecting the hose when I originally received this hose connector as it was set up for Australian hose couplings. I contacted Vegepod USA and they sent me a USA connection fitting right way. I had the part in two days. In my book that’s great customer service.
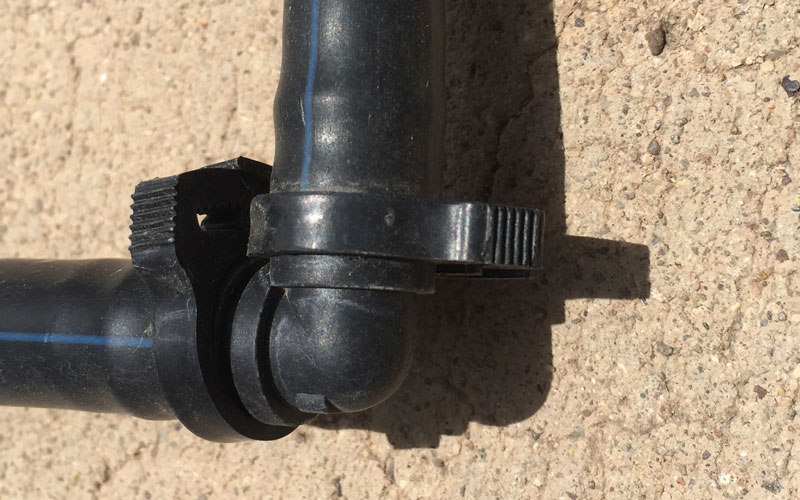
The sprinkler lines are two pieces of plastic tubing connected with an elbow and clamps
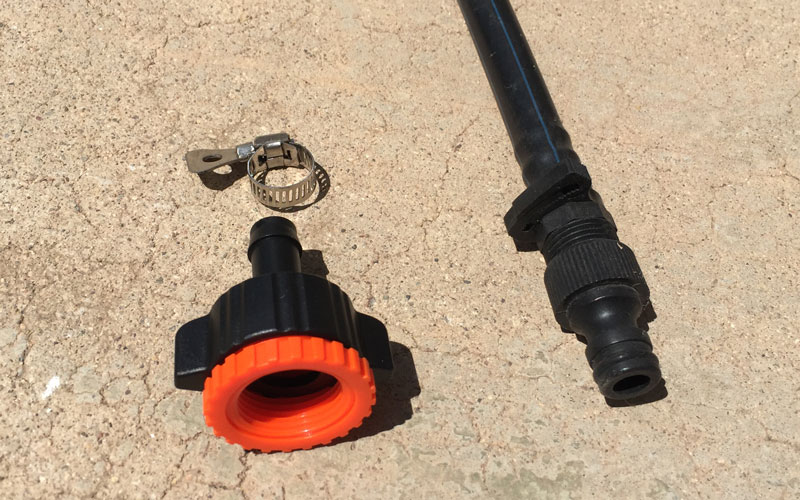
The original hose connector (on right) came standard with the unit (for overseas applications). The fitting (left) along with clamp is standard for USA hoses.
The sprinkler line is connected with cable ties to the top bar of the greenhouse frame with the spray nozzles pointing down toward the soil and crops. The hose connection is threaded through a pocket in the greenhouse cover to be attached to the hose. I liked the simplicity of the system.
The medium size Vegepod sprinkler line has two sprinkler heads.

Two sprinkler heads attached to main sprinkler line provided the water for crops
The sprinkler hose runs through a pocket that is sewn into the side of the greenhouse cover
Once the entire unit was assembled the question became how much soil should we put in the Vegepod?
HOW MUCH SOIL FOR THE VEGEPOD?
In the instructions, Vegepod recommends using the following:
- 7 bags (25 liter or 26.6 quarts) of a standard potting mix
- 2 bags (25 liter or 26.6 quarts) of cow manure
- Optionally they recommended that I could use 1 bag (50 liter or 53 quarts) of perlite or vermiculite (substitute for 2 bags of potting mix)
We took soil recommendations into our own hands and dumped four 55-quart bags of Scotts® “Moisture Control” potting mix into the unit and called it good.
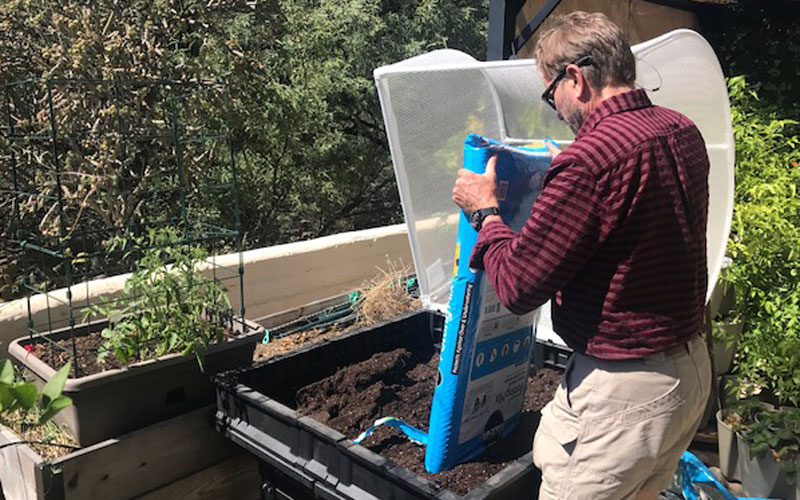
Adding soil to the Vegepod was as easy as dumping bags into the grow box
Growing in the Vegepod
Once we had the potting mix in the grow box and the irrigation system hooked up it was time to sow seeds. We put in lettuce seeds and in a matter of a few short weeks, the box was overflowing with a bumper crop.
Here in Tucson, the Gambel’s quail eat every seedling they can get their beaks on, making it difficult to grow anything from seed. And if you can get past the seedling stage, they then tear young plants to pieces. The Vegepod cover allowed us to easily grow lettuce without any damage. My wife who is an avid gardener with 40 years of experience said “it was the best lettuce I’ve ever grown”.
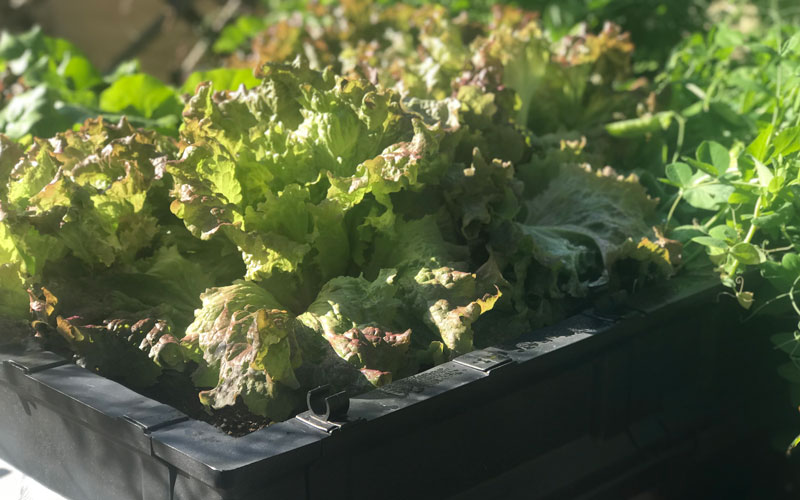
We had a bounty of lettuce in just a few short weeks.
The cover was also helpful in protecting seedlings from heavy rain or overhead watering with a hose nozzle or water wand. The fine mesh breaks up water drops into a mist so delicate seedlings don’t get flattened.
I was concerned that the cover might block too much sunlight, leading to spindly, weak plants. While it may cut down on some light, it didn’t appear to have any detrimental effect on any of the plants we grew in the Vegepod – they were all strong and healthy.
What to Plant in the Vegepod
The Vegepod has a limited growing depth of only 11” so I wouldn’t choose to grow long root vegetables, like most varieties of carrots. And if you want to use the cover, you can’t grow anything over about 2 feet tall or that overhangs the edges of the planter.
Shallow-rooted veggies are perfect though. Right now we’re growing squash, beans and some annual flowers in the Vegepod.
The medium and large planters are essentially two or more of the small planters fastened together. Because of that, the planting depth is only 4 or 5 inches where the planters connect and that area doesn’t stay as consistently moist as the deeper areas. It also limits what you can plant in those spots. We planted seeds there, rather than trying to transplant plants with larger rootballs.
WATERING the Vegepod
Two of the biggest problems with watering are over-watering and inconsistent watering. The Vegepod helps prevent both of those issues.
The base containers act as water reservoirs and slowly release moisture to the planting mix above, keeping it consistently moist.
To prevent over-watering, the reservoirs have small overflow holes that leak out excess water. A good rainfall will fill the reservoirs, as will leaving the watering system on for half an hour, so don’t place the Vegepod where the water runoff can cause damage or pooling.
WARRANTY
The Vegepod comes with a 2-year limited warranty that covers any defects in materials or workmanship. Accessories, including stands, Vegecovers, and replacement parts, have a 12-month manufacturer’s warranty against defects in material or workmanship.
RECOMMENDATION
On the plus side, this is one of my favorite gardening containers. It produces bountiful crops, is self-watering, protects plants from birds and other pests, and takes up limited space – great for patio gardening. On the minus side, the unit we received had some quality issues with the metal support stand. I also would have liked Vegepod to include a wrench to hold onto the nuts when assembling the unit. While the company should not have assumed that the hose connector that works in Australia works in the United States, they’re now including the correct connector for the US market. It also isn’t clear on both the Amazon or Vegepod websites that the metal stands are not included in the price of the unit. The unit I received was boxed as an entire assembly including the stand. I assumed that this was the standard way all units came, only to find out that the stands were extra. I didn’t subtract points for this but I wish it were clearer.
On the whole, I would highly recommend this product to anyone who wants to grow an amazing amount of veggies in a confined space – and has the patience to assemble all the parts.
WHERE TO BUY
All three sizes of the Vegepod planter are available on Amazon Prime. You can also buy them on the Vegepod website: https://vegepod.com for the same price (shipping is included in the price).


Stands and accessory parts are also available on both Amazon and the Vegepod website. These include stands (with and without casters) and winter covers (a clear plastic greenhouse Vegecover). Prices for the stands range from $69.00 to $159.00. The Trolley Stand (stand with casters) is available for the small Vegepod for $134.00, and the winter covers range from $27 to $40.
Last update on 2026-07-21 / Affiliate links / Images from Amazon Product Advertising API
Enjoyed This Review?
If you liked this review, please sign up for our email updates with reviews, how-to articles and gardening videos!
An awesome self-watering planter for limited spaces - plus, it has a cover to protect your plants!
Available on Amazon
Buy It


