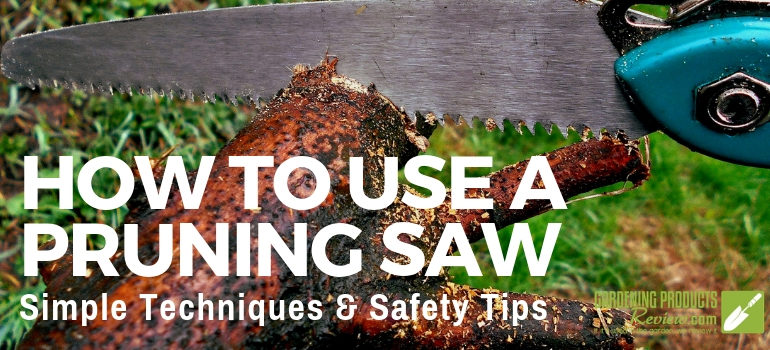
How to Use a Pruning Saw: Technique & Safety Tips
We independently evaluate all recommended products and services. If you click on links we provide, we may receive compensation.
A pruning saw, including folding saws, hand saws and pole pruners, is a necessary addition to your yard and garden toolkit if you have trees or larger shrubs on your property.
Done properly, pruning can improve the looks and health of a tree or shrub. Unfortunately, many people do it wrong, leaving the plant disfigured and prone to disease and pest problems. If you’ve ever seen a “topped” tree, you know what I’m talking about.
Pruning saws are extremely sharp (no surprise there – they wouldn’t cut through branches if they weren’t!). As such, they’re also dangerous tools if used carelessly or incorrectly.
Below are our tips for how to use a pruning saw so that it gets the job done quickly and more easily. We also cover how to use it safely to avoid potential injury.
First Things First
- Wear protective clothing to put a layer between you and the saw blade. This includes sturdy gloves (leather is best), long sleeves (denim is a good choice), full-length pants and eye protection (my favorite safety glasses are from Wiley-X).
- If you’ll be working above your head (for example, with a pole pruner), wear a hard hat. A falling branch can not only knock you unconscious but can also put a hole in your skull.
- Make sure the pruning saw blade is sharp (a dull tool can be more dangerous than a sharp one) and that it’s firmly fastened to the handle. This is especially important with folding hand saws as the pivot point can loosen with repeated use.
Position Yourself
- Stand close to the branch you’re cutting; you’ll have better control of the saw if it’s close to your body.
- Don’t over-reach. Not only do you not have as much strength or control when your arm and/or body is extended, you also run the risk of toppling over. This mostly applies if you’re standing on a ladder or step stool, but is also relevant even if you’re firmly planted on the ground.
- Think about where the saw blade will go when you finish the pruning cut. It usually follows through from the cut so make sure all body parts are out of the way.
Where to Cut
- Pruning cuts should be made just outside the branch collar. This is the slightly swollen, ridged area where the branch you’re cutting meets the trunk or larger branch it’s attached to. The branch collar quickly forms new growth to cover the cut area and protect the rest of the tree or shrub from disease and insect pests.
- Never cut a branch flush with the trunk. This will remove the branch collar and prevent the tree or shrub from healing.
- Don’t make your cut in the middle of a branch or too far from the branch collar. If you do, the cut limb will die back to the branch collar, leaving an unsightly stub that’s vulnerable to disease and pests.
Making the Cut
- Hold the branch firmly with your non-cutting hand. Just be sure it’s not too close to where you’re making the cut; the saw can jump out of the cut and slice your hand.
- To start the cut, place the saw teeth on top of the branch and slowly pull the blade toward you. This should make a shallow groove in the limb to “seat” the saw.
- When the blade is firmly seated, begin cutting by slowly and carefully moving the blade back and forth. Use the full length of the blade for maximum efficiency.
- Stay in control of the saw at all times. It’s better to go slowly than to rush the cutting movements; going faster can make the saw jump out of the kerf (the groove made by the saw) or bind (get stuck, especially on the forward motion).
- Never force the saw; it can jump out of the kerf, bend or even snap.
- As you near the end of the cut, slow down – you don’t want the saw suddenly breaking through and catching you by surprise. Cut slowly with the pull stroke until the cut is finished.
- Don’t release the branch until the cut is finished. If you let go, the bark will probably tear as the limb breaks from the weight of the branch.
- For larger branches, use the 3-cut method to prevent torn bark.
As they say, practice makes perfect. If you’ve never used a pruning saw before, practice on a fallen branch or piece of lumber until you’re comfortable with your saw.
Each pruning saw is different, affecting how aggressively it cuts, how much pressure you’ll need to use, and the types of pruning it’s best for. Check out our detailed reviews of the best pruning saws to find the right one for you.
And if you’re still uncertain about using a saw to prune, why not join our Facebook community on Pruning With Confidence and get on the pre-release list for our new online pruning course coming this fall.

What is the 3-cut method?
If you need to cut a large or heavy branch, cut it off in three steps. If you do it in only one cut, the bark will tear off (sometimes quite a long way down the trunk), damaging the branch collar and opening up the trees to pests and disease.
Step 1 – Make a cut 5-6 inches away from the branch collar. This cut is made on the UNDERSIDE of the branch and ONLY about 1/3 of the way through the branch.
Step 2 – Cut off the branch (cut all the way through) a few inches farther out from your first cut. This cut is made from the top of the branch. The first cut creates a gap that prevents bark from tearing as the branch falls away.
Step 3 – Make your final cut, from above, just outside the branch collar. Cut all the way through the branch. Make sure it’s a nice clean cut.