Five Keys to Successful Seed Starting
We independently evaluate all recommended products and services. If you click on links we provide, we may receive compensation.
 As spring slowly approaches, many gardeners start thinking about growing plants indoors from seed. Here are the five things you’ll need to consider.
#1 – Moisture
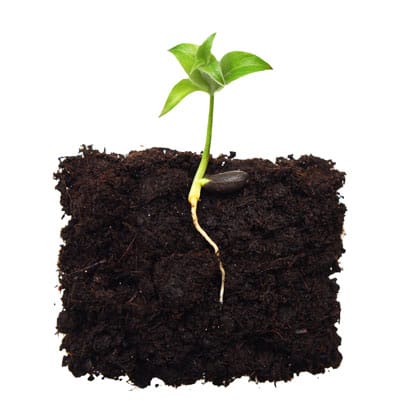
Your seeds won’t germinate (sprout) if they are not kept evenly moist. Thoroughly moisten the seed-starting medium (not garden soil!) before sowing the seeds.
Use one of our recommended seed starting mixes to ensure you get your seeds off to a great start.
Keep a plastic lid or loose plastic bag over your seed pots or trays to keep the moisture in like a mini greenhouse and you probably won’t have to water again until the seeds germinate. However, check periodically to make sure the growing medium is damp (not soaking wet or it will get moldy and the seeds will rot).
Avoid letting your seedlings dry out – soil pulling away from the sides of the pot is a sign that it’s too dry. If the medium seems dry, give it a spritz of H20 with a mister. Misting is much gentler than a watering can and won’t dislodge your delicate seeds.
#2 – Warmth
Different seeds like different temperatures to germinate and thrive. There are a few crops that prefer cool soil, like spinach and peas, so you can sow them directly outside when the soil can be worked. But most other seeds, including tomatoes, peppers, and cauliflower, need some heat to sprout and grow nice stocky plants (typically, mid- to upper-70’s is ideal).
You can buy heat mats online or from garden centers to place beneath your seed tray or pots. They come in different sizes, ranging from 10 x 20.75 inches (for under a typical seed flat) to larger ones that fit under multiple seed starting trays at once. The basic heat mats are all very similar so just shop based on price. However, some do come with an integrated thermostat control to regulate the heat; you can usually set it between about 40°F – 108°F (5-42°C), depending on your plants’ needs and the ambient temperature.
You can also create a DIY alternative to supplying bottom heat by putting your seed flat on top of the refrigerator, television, or other warm spot. A 40 watt incandescent bulb positioned just under a metal shelf pointing up makes a good heat source for seed pots placed on the shelf – just ensure the shelf is metal and there is no threat of fire!
#3 – Light
Once your seeds germinate, they need lots of light or you’ll end up with weak, spindly plants. Your light can come from a very bright window that keeps your seedlings in bright, direct sunlight all day (not very common) or from artificial lights. Although the fancy ‘grow lights’ tend to work best (after all, that’s what they were designed for), any fluorescent light will work.
What’s critical is that your light source is just 3 or 4 inches above your plants. As the fluorescence gets farther away from the plant, the physical benefits of the light decrease, so do what you need to do to hang those lights close to the plants. Most of us aren’t concerned with attempting a decorator look with this – a contraption fashioned from plant hooks in the ceiling, string, and wire coat hangers works wonders.
Start off with 24 hours of light a day and gradually decrease it to about 14 hours as the seedlings develop true leaves. Get your light timer from your holiday closet and set it to turn on early in the morning and turn off at dinner time.
For more details and different light options, see our page on Growing Seedlings Under Indoor Grow Lights
#4 – Breeze
Many of us have transplanted our delicate seedlings outside into the garden and come back the next morning to find our itty bitty plants flattened and broken by the evening’s pelting rain or gusty wind.
An age old trick for growing sturdy, stocky plants that can take the outdoor weather is to have a very light breeze floating across the plants throughout the day. If the tiny seedlings feel that breeze they will grow thicker stems which will help protect them when you transplant them outside. Use a small fan positioned far enough from the seed trays to create just a light breeze.
#5 – Food
Once your seedlings develop true leaves, they’ll need supplemental feeding to continue producing strong, healthy growth. There are plenty of fertilizers developed specifically for seedlings but, generally speaking, any liquid house plant fertilizer at half strength will do.
Video Resources
How to Successfully Start Seeds Indoors
This video tutorial shows you exactly how to successfully start seeds indoors, including seed starting mix, containers, sowing, watering, heat, and more.
Watch the video on our YouTube channel (28 minutes)
Seeds Have Germinated: Now What?
After your seeds have germinated what do you do next to grow healthy, stocky seedlings? In this video I cover lighting, watering, fertilizing, airflow, thinning, transplanting and hardening off.
Watch the video on our YouTube channel (29 minutes)


